Welcome to QuikFeast! This guide will take your through all the essentials for using QuikFeast, from setting up your first restaurant to managing orders and maximizing your sales potential. Whether you’re a seasoned restaurateur or just starting out, we’ve got you covered with tips, and step-by-step instructions to help you make the most of QuikFeast
This guide is designed to help you seamlessly set up and customize your restaurant's profile and menu on QuikFeast. Whether you're new to the platform or looking to make updates, this section will walk you through each step, ensuring you can showcase your offerings effectively to your customers.
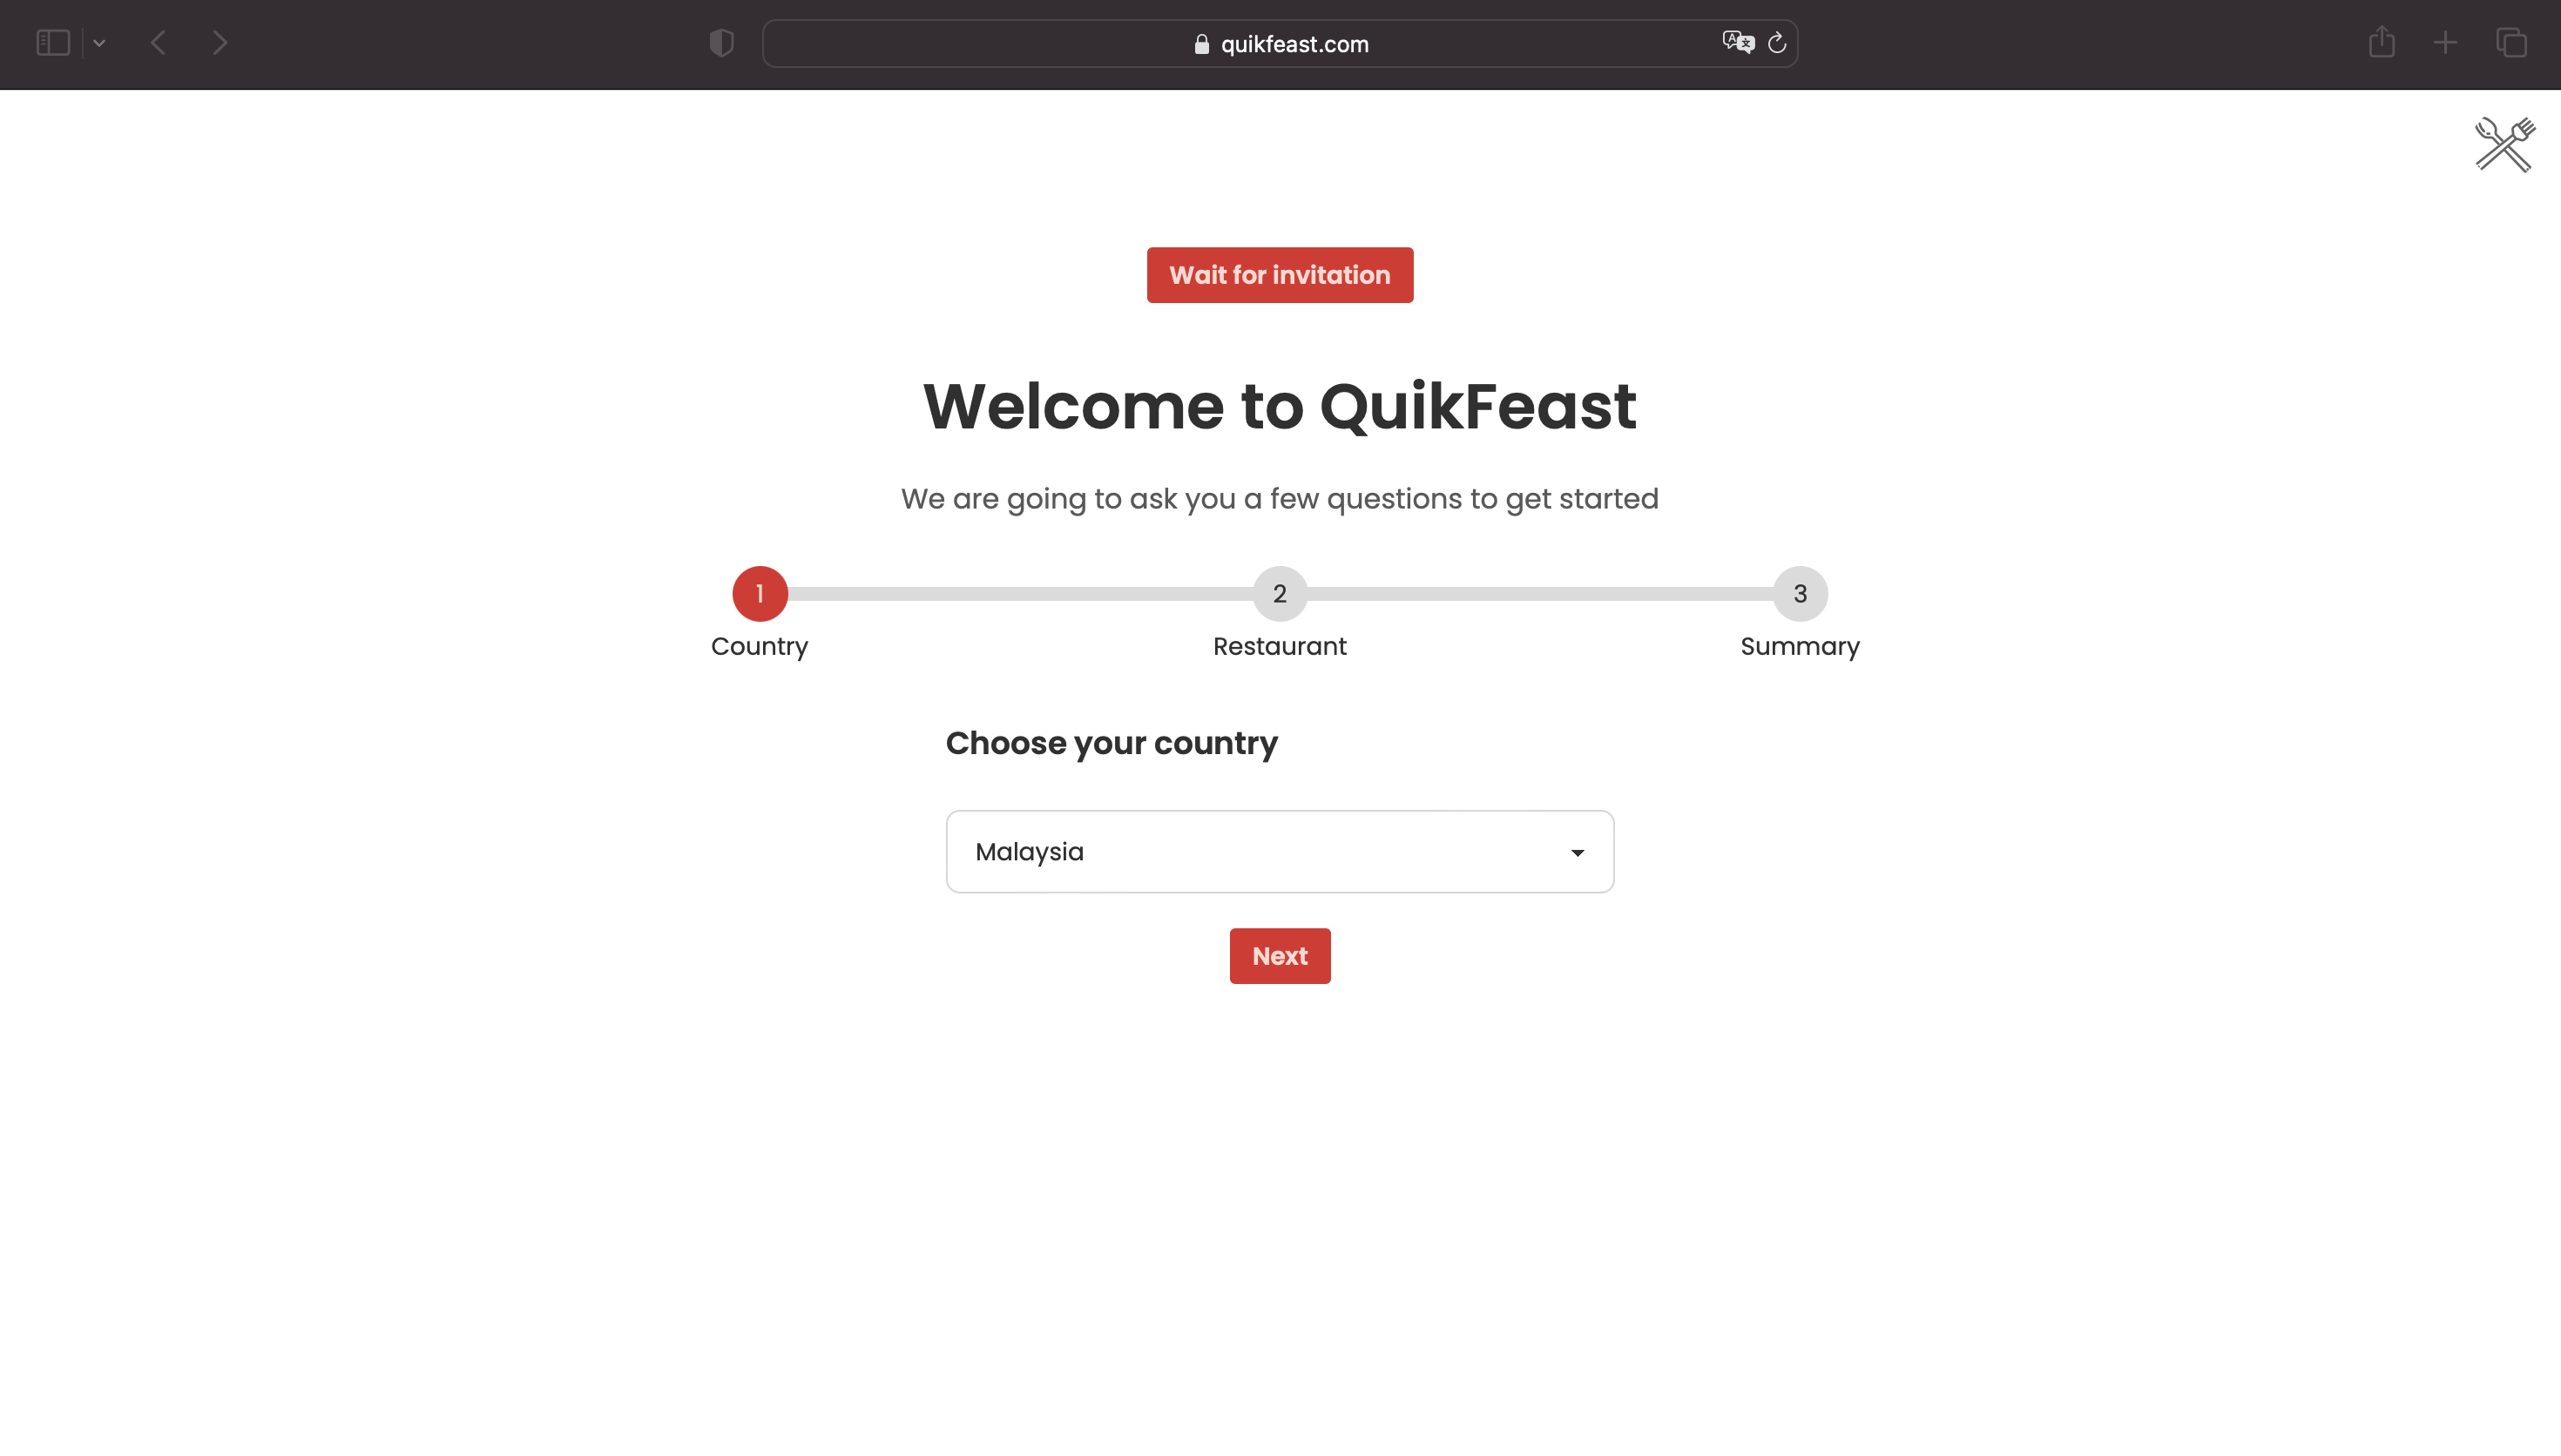
Select the country where your restaurant is located. This helps us to ensure that your restaurant is listed correctly. To choose your country:
Once you have selected your country, click ‘Next’ to proceed to the next step.
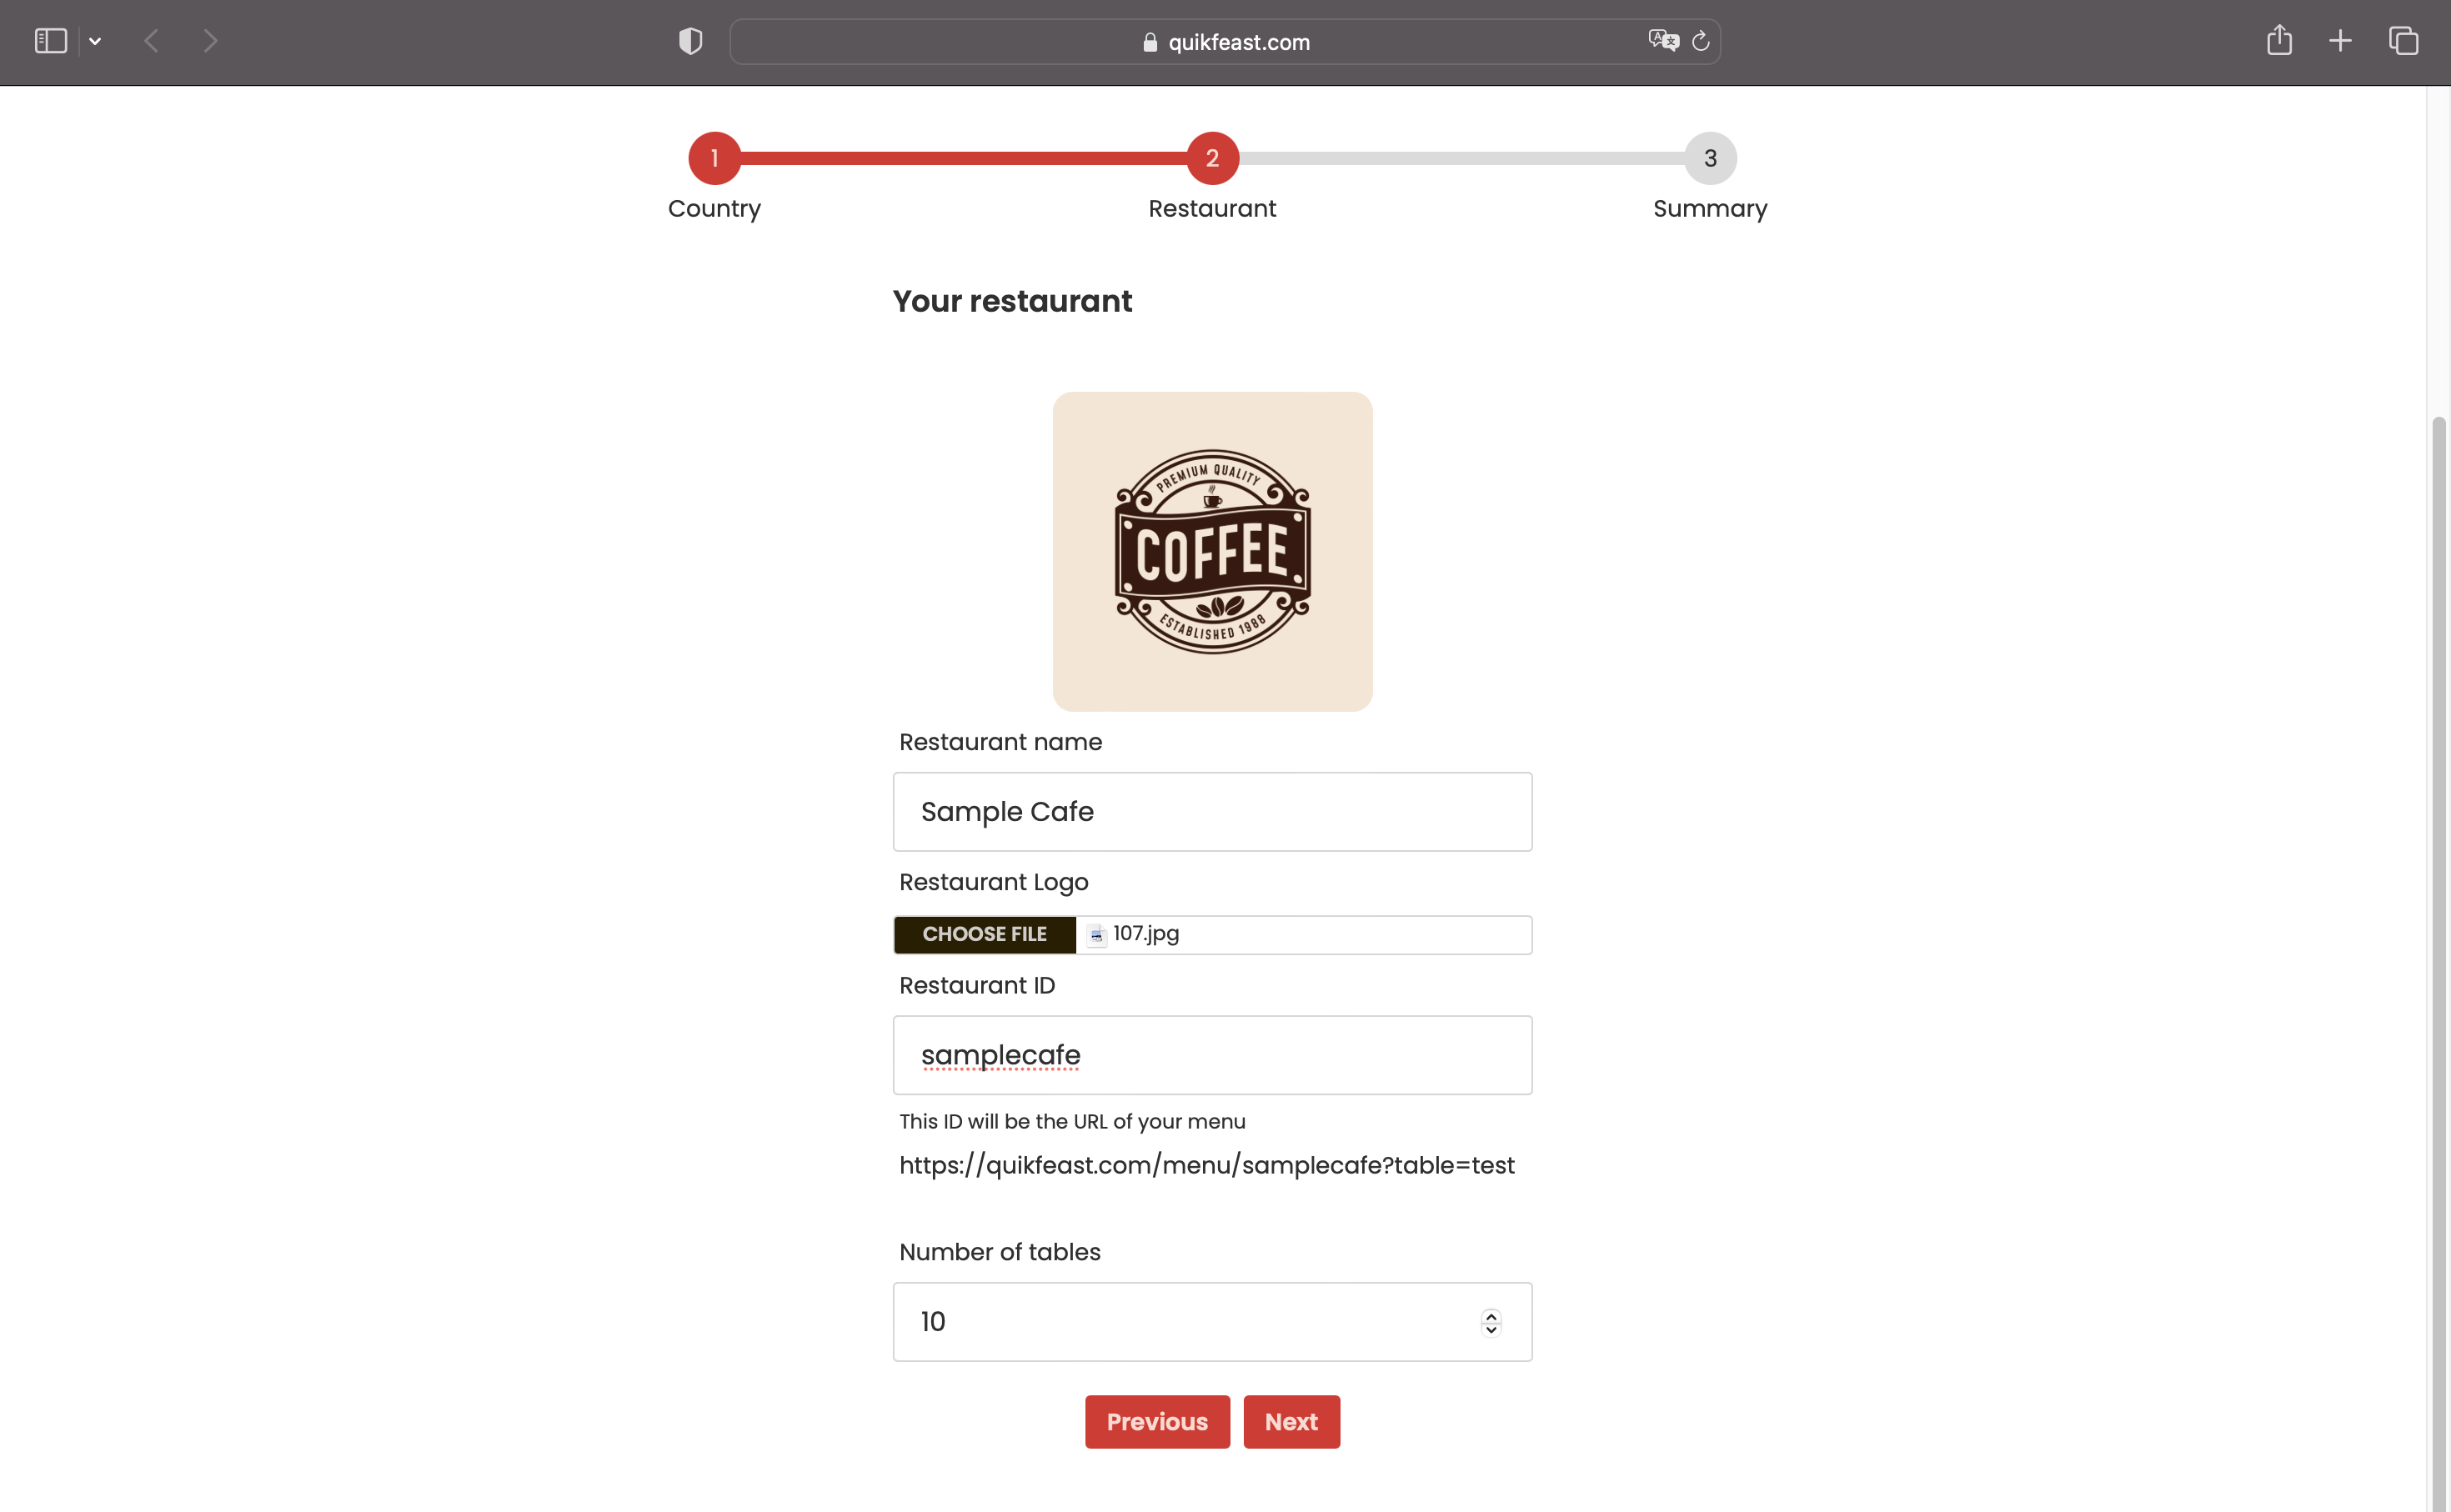
Once you’ve entered all the required information, click ‘Next’ to the next step.
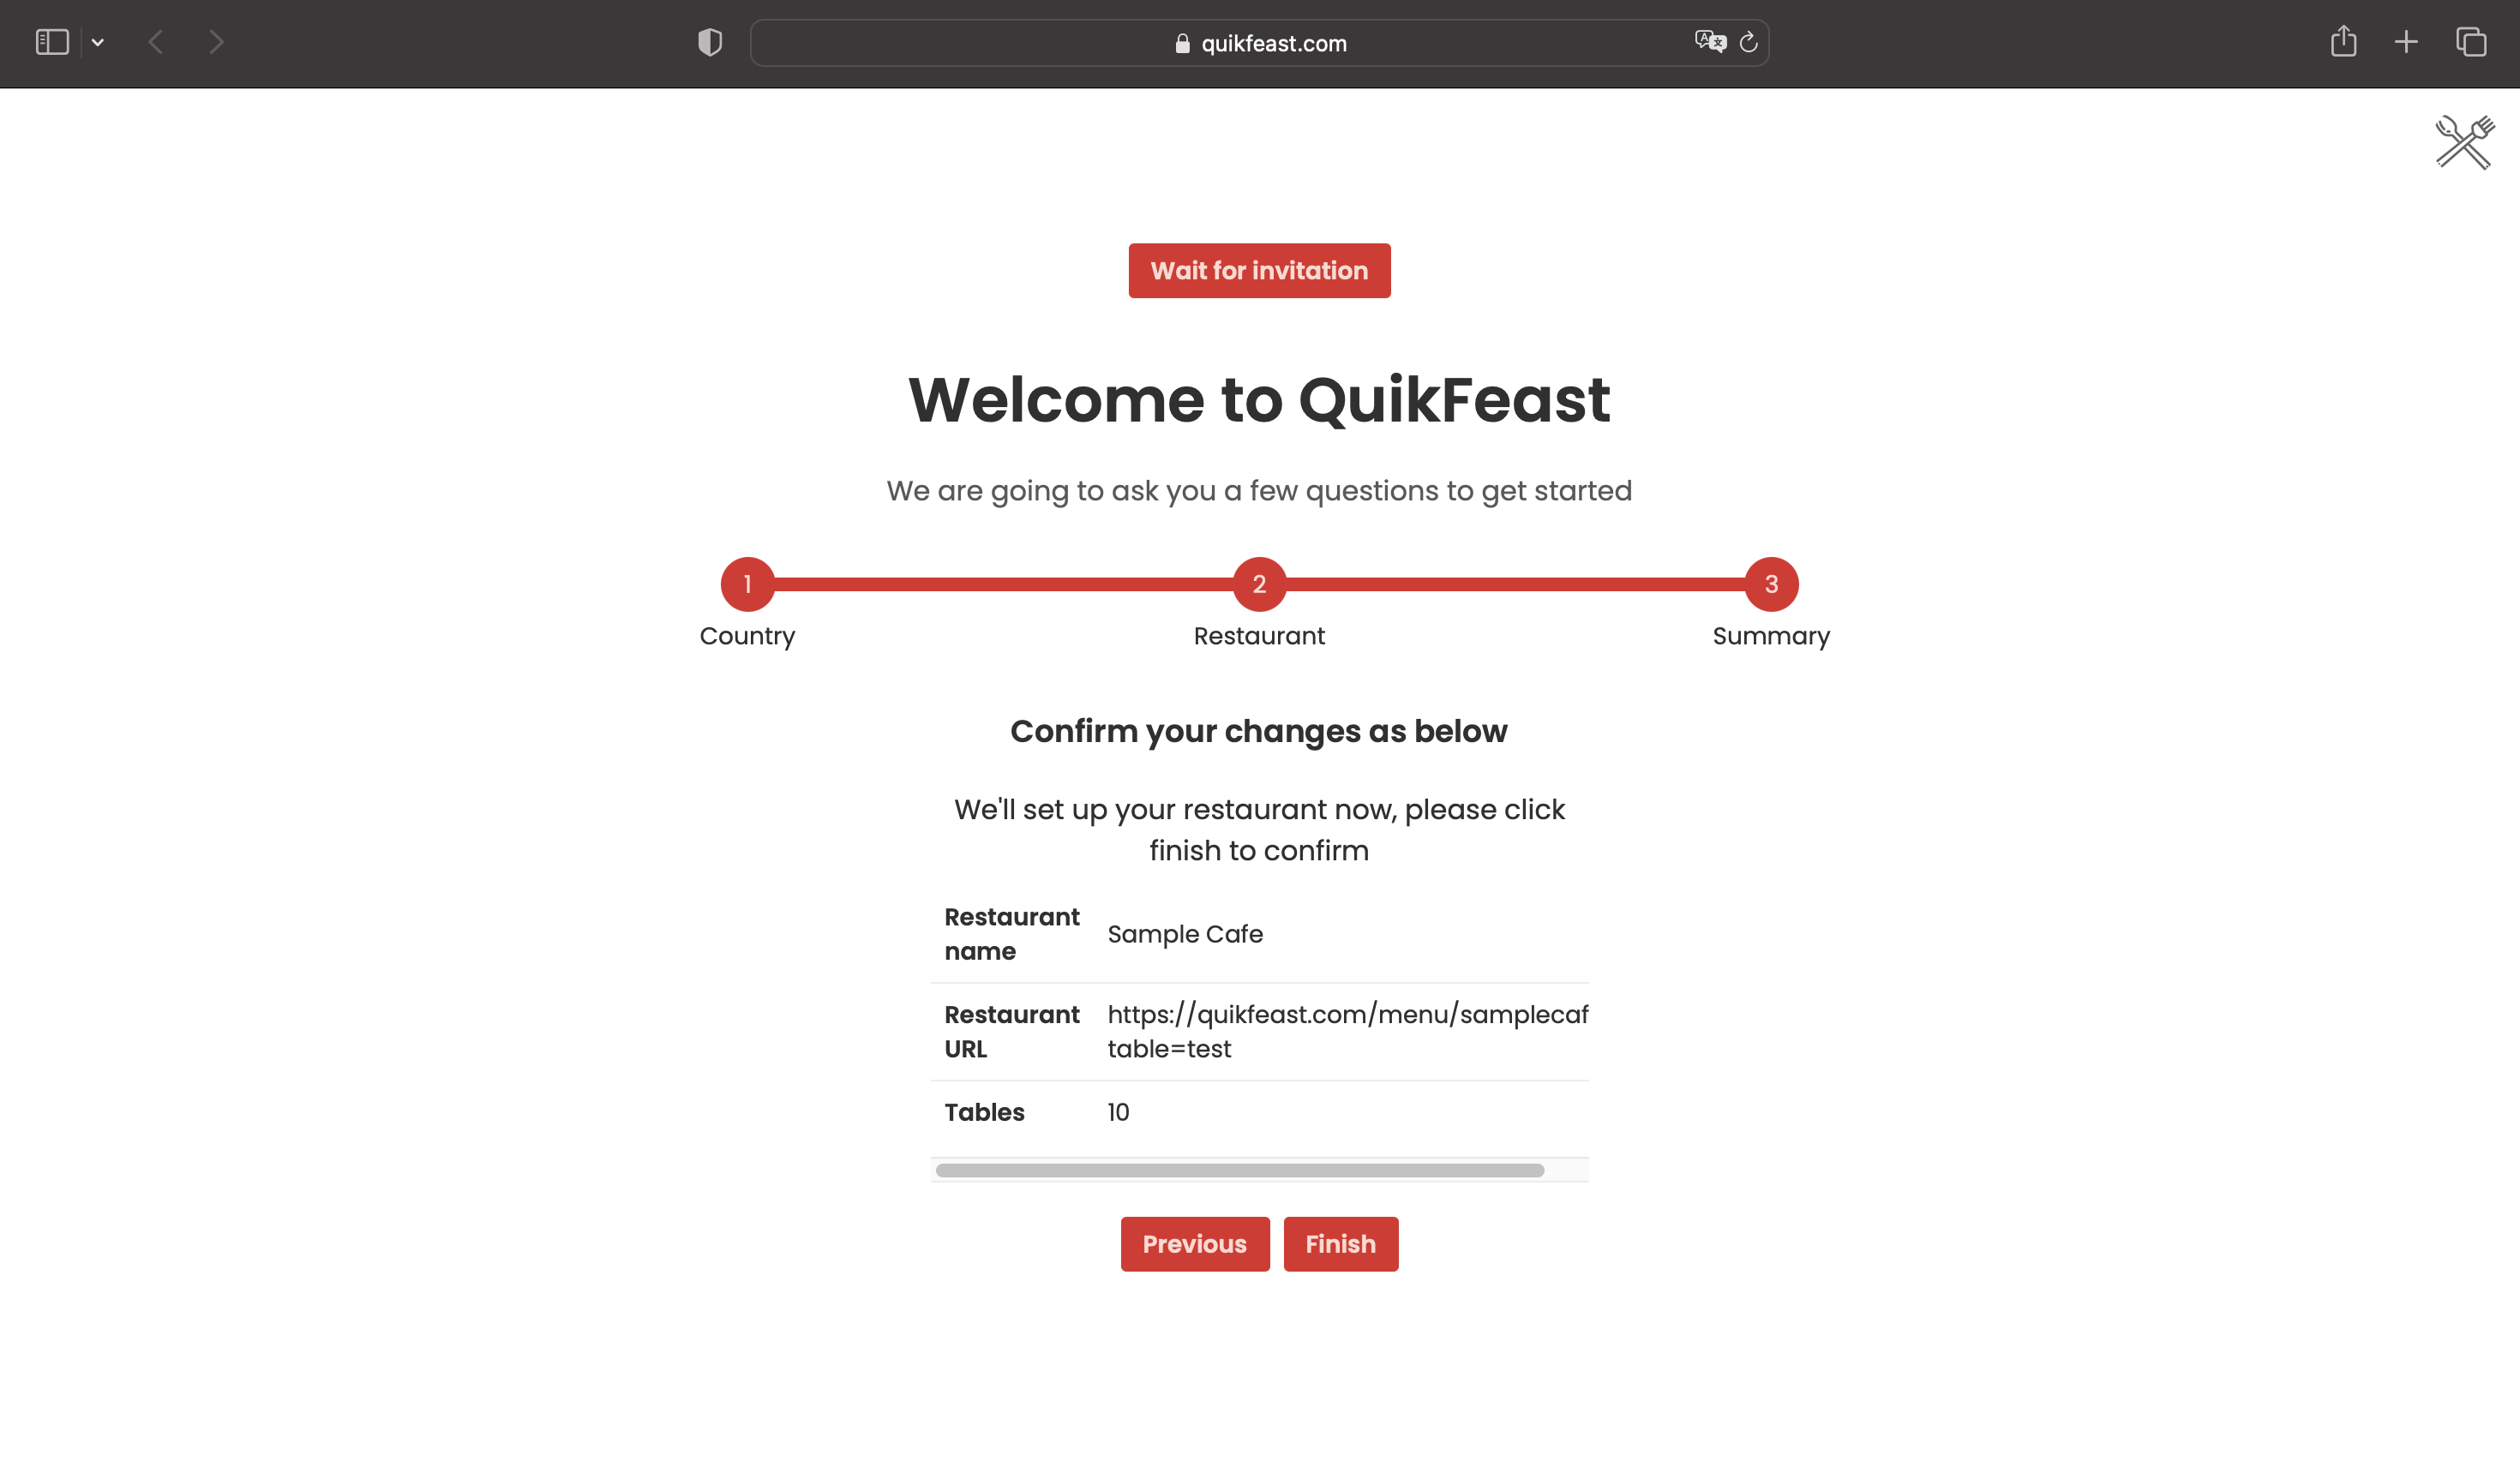
Review the details of your restaurant that you have entered.
If everything looks correct, click ‘Finish’ to complete the setup process. You can always update these details later
This feature allows you to easily expand your restaurant's menu. Here, you can add new dishes, update existing items, and manage prices and descriptions. Let's walk through how to make the most of this feature and keep your menu fresh and appealing to customers.
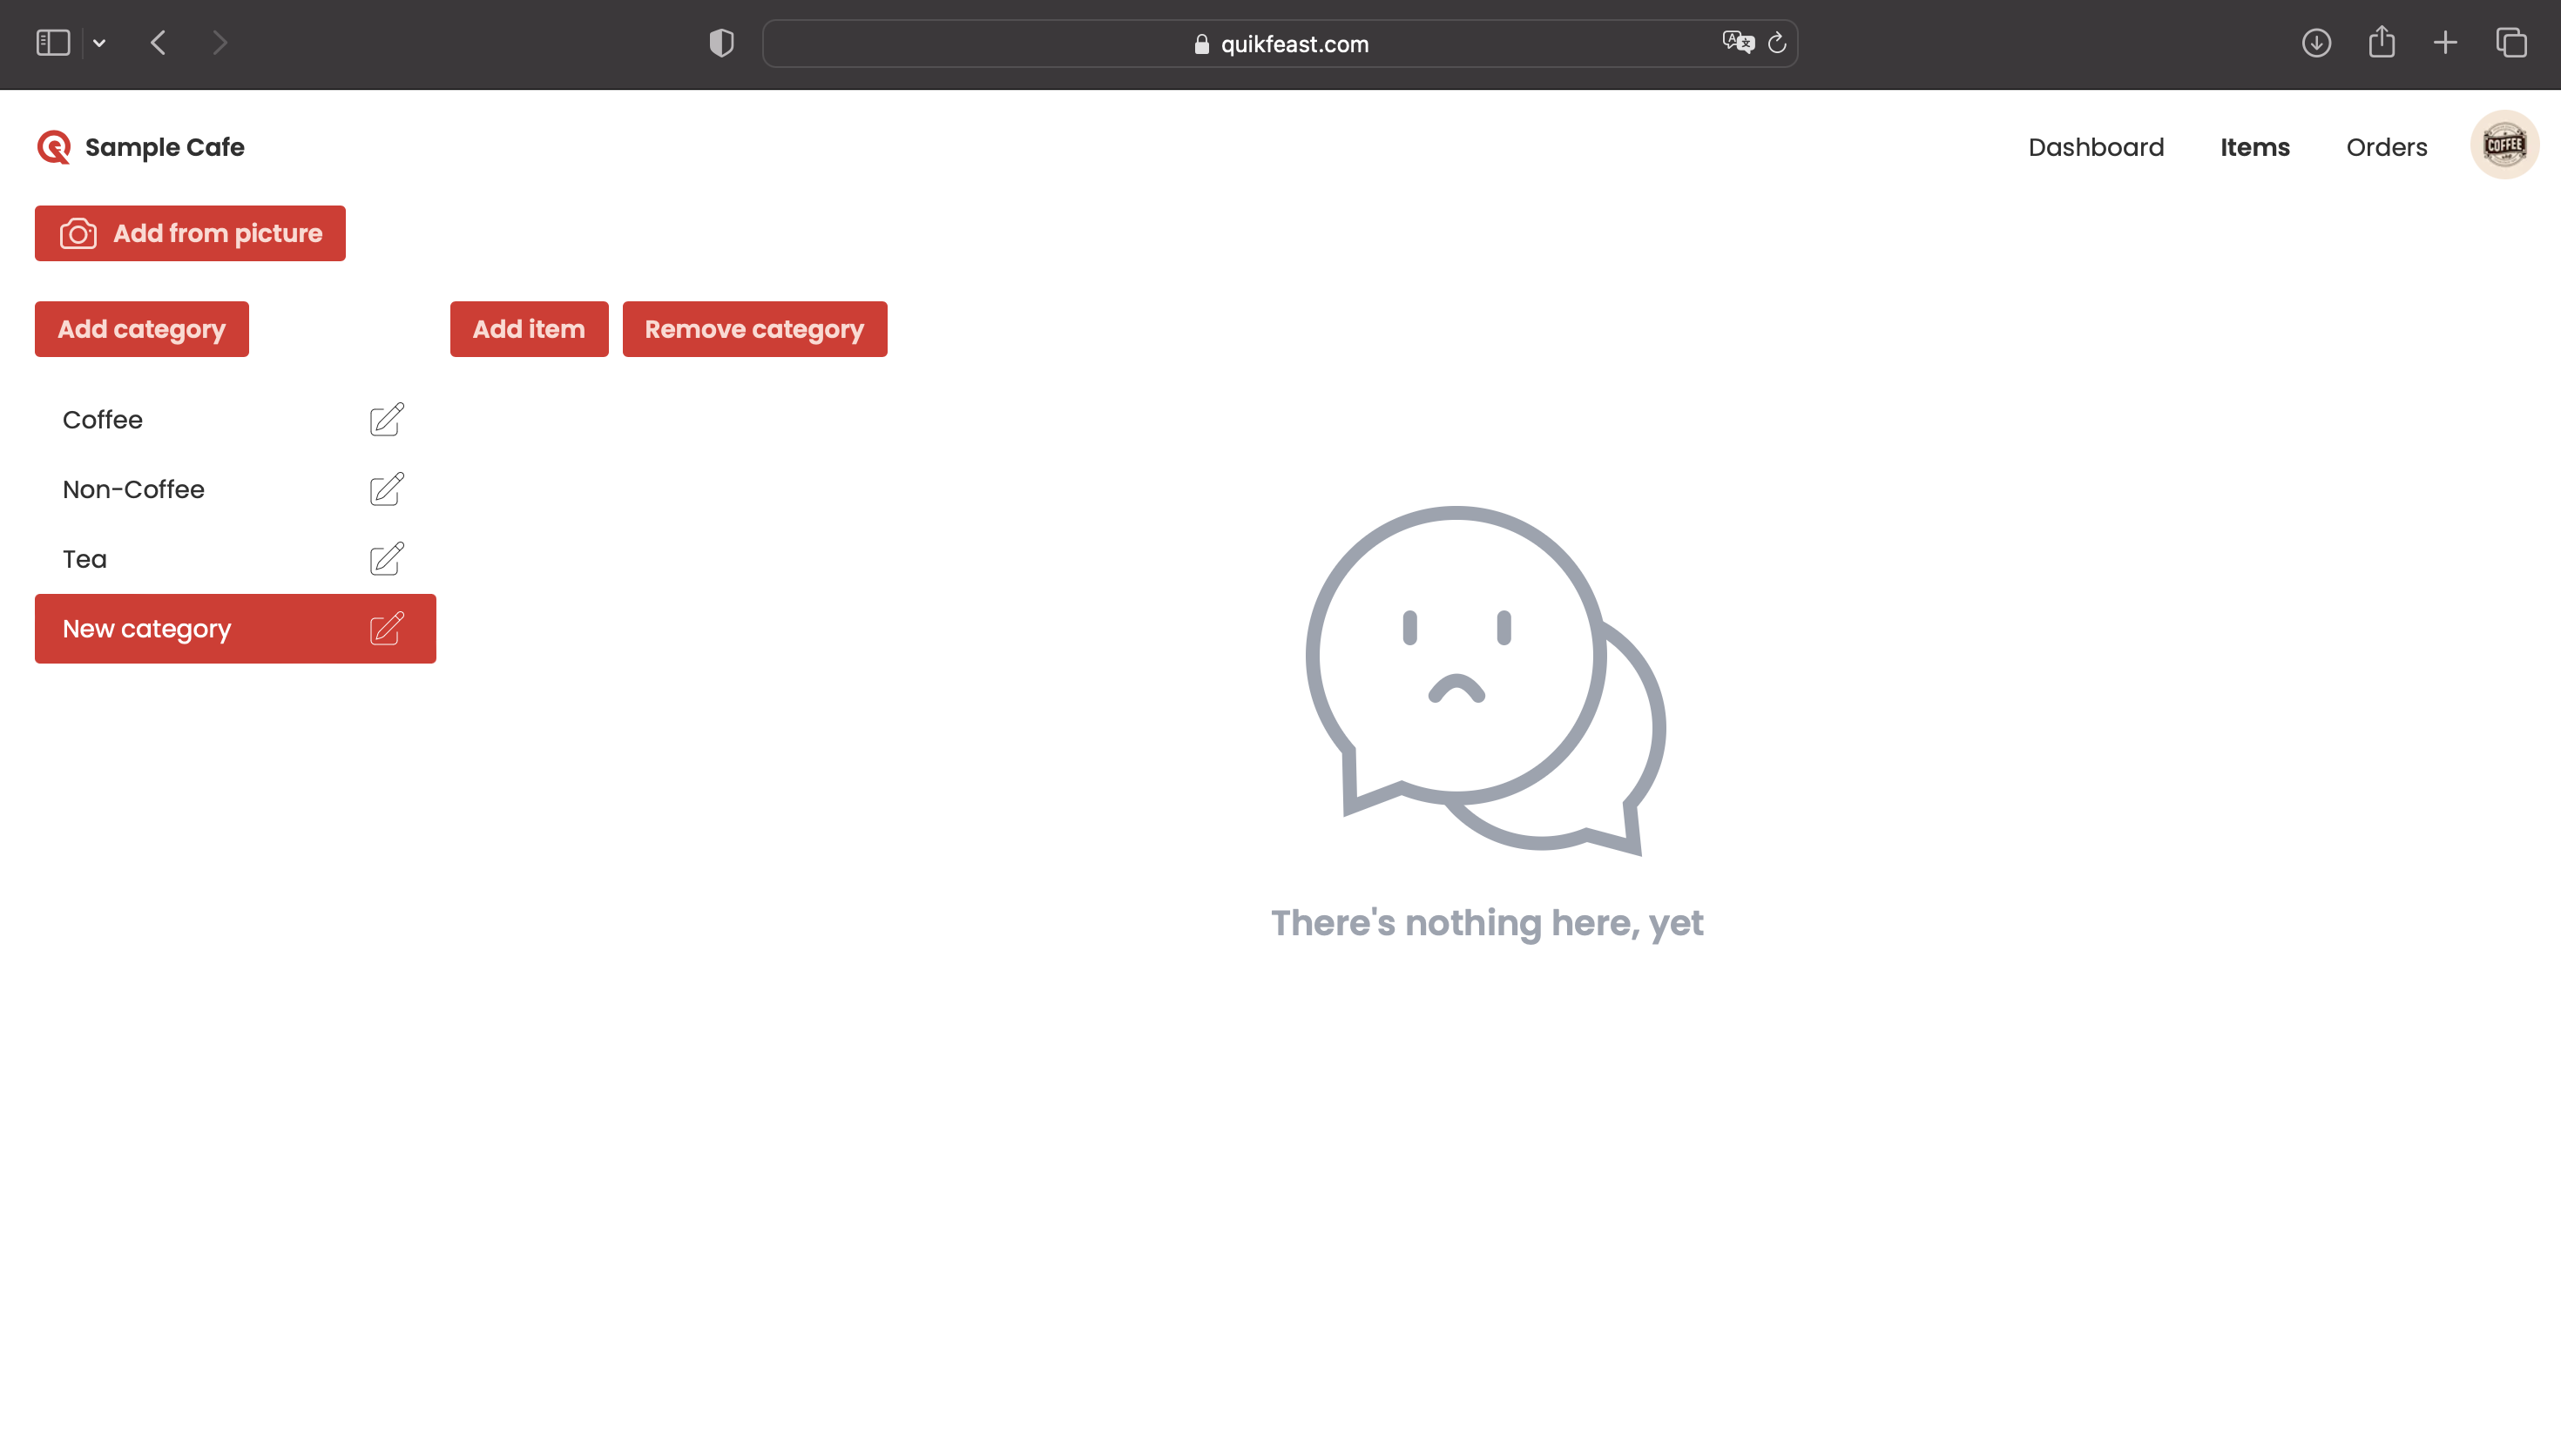
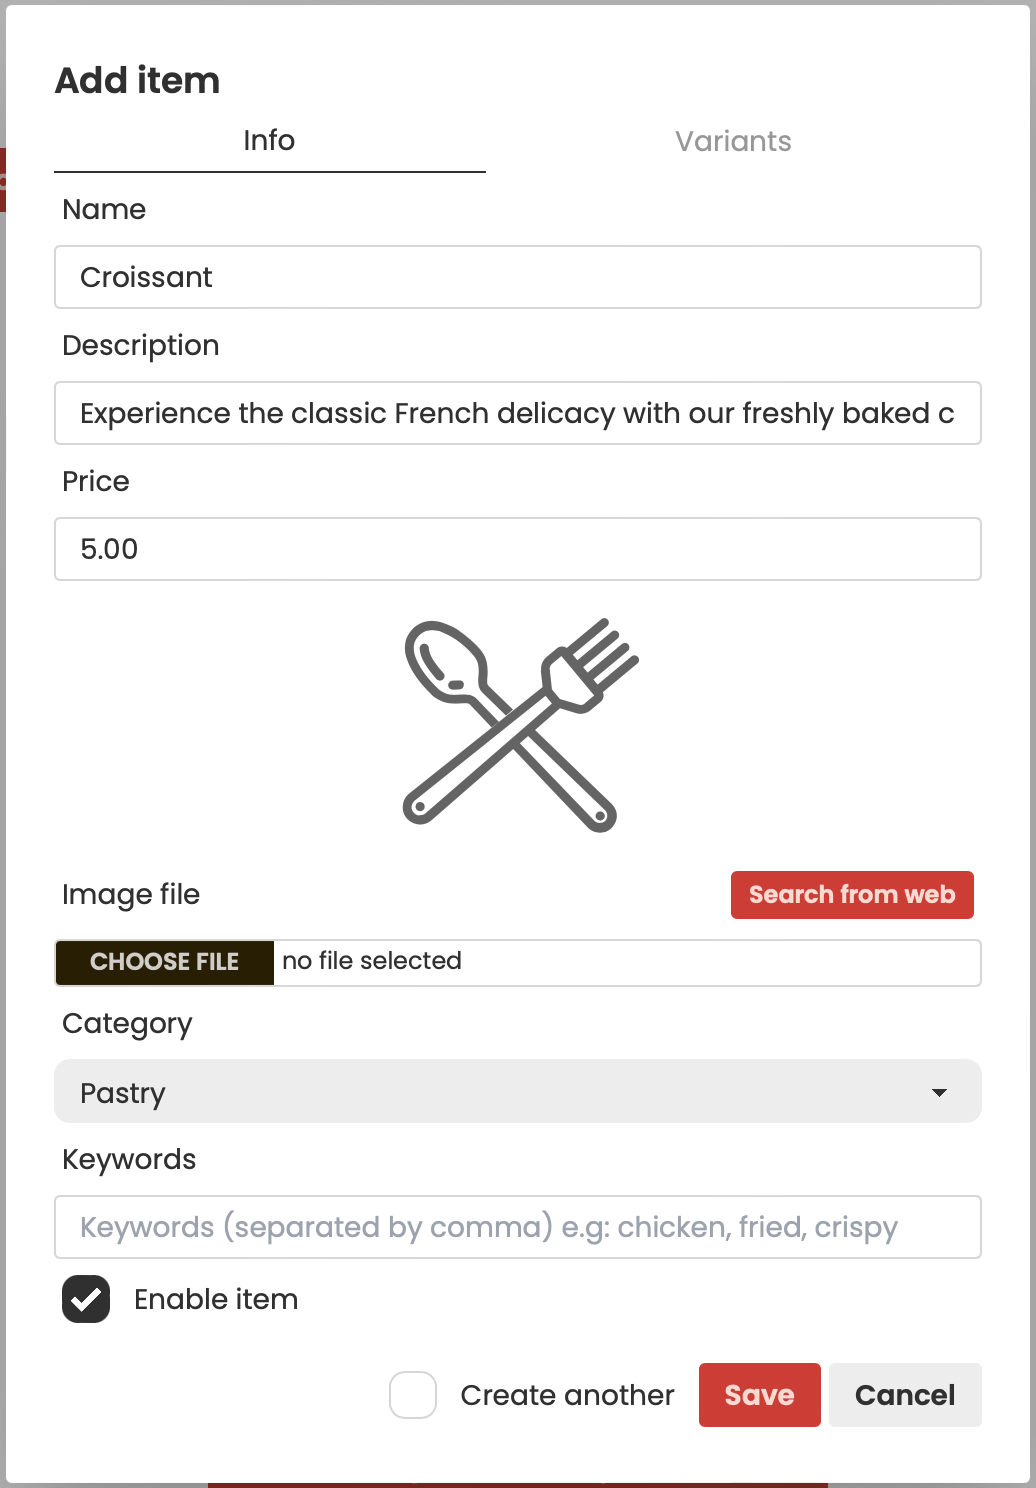
Once saved, the item will be displayed under the selected category in your menu, allowing your customers to easily find and view it. If you need to make any changes or updates to the item, simply click on the “Edit” button next to it.
Should you decide to remove the item from your menu entirely, click on the “Delete” button to permanently delete it.
If you have existing paper menu or banner in your restaurant, you can take advantage of the Add from picture feature. Click on Add from picture the button and select photo of your existing menu. Click Detect menu from imageand QuikFeast will intelligently detect and populate your QuikFeast menu items.
Now for the interesting part, the QR menu! Simply go to Settings | Restaurant | Download QR codes
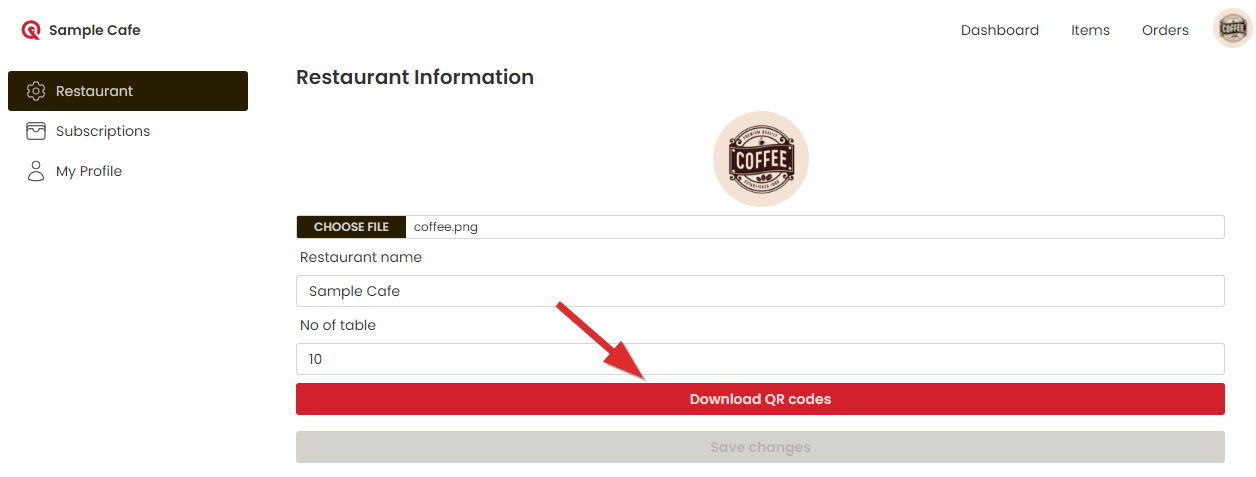
A PDF file will be downloaded. You can print this PDF onto an A4 paper or A4 sticker paper. After printing, you can cut and paste the stickers onto your restaurant table and your customer can start ordering via QuikFeast.
Upon scanning the QR, customer will be brought to your menu and they can start ordering!
Press + to on an item to add item into the basket. And click "View basket" to view basket and order
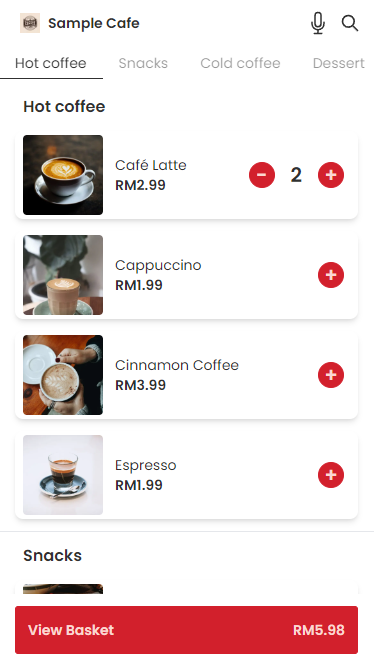
Review your basket, or click "Change order" to go back to menu
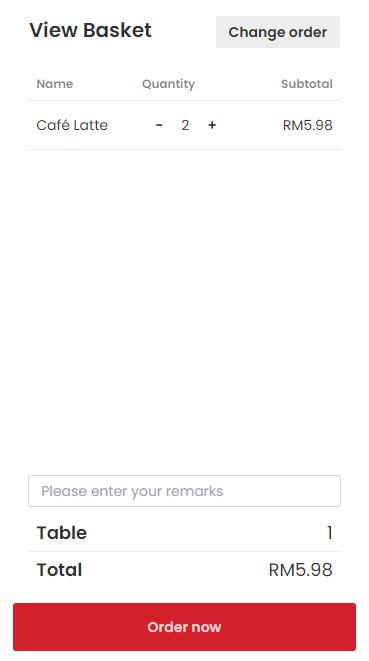
Once customer clicked "Order now", they will brought to this screen:
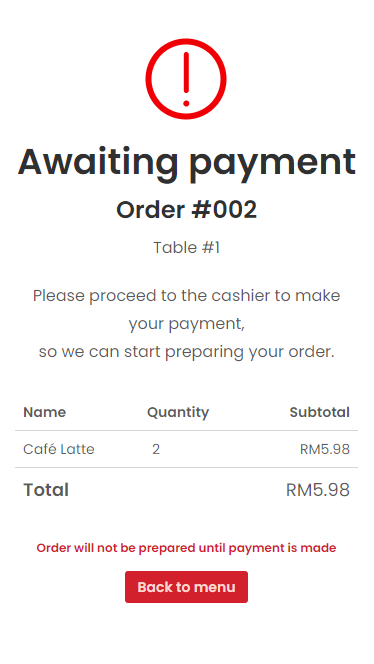
This means that the order is submitted. In the next section, we will cover on how do the restaurant manages orders in QuikFeast.
This feature provides you with tools to efficiently manage and monitor your restaurant's incoming orders. Track order statuses, view detailed information, and ensure timely deliveries, all from one convenient place. This guide will walk you through how to use this feature effectively, helping you streamline operations and provide excellent customer service.
In previous section, customer has ordered something. Let's check out in the orders page. You can go to the dashboard and select Orders:

The orders are collapsible, so you can collapse the latest order to view the items. You can click "Confirm Payment" once user has paid to the cashier.

Each order card has a status indicator that helps you quickly identify the state of the order. The status indicators are color-coded for easy recognition:
Create Order Button: Click this button to create a new customer order. This will open a form where you can add items for the new order. You will be able to select from the available menu items, specify quantities, and add any special instructions for the kitchen or serving staff.
Simply click on Print receipt in the order, and a dialog will pop up to choose your Bluetooth printer. Please note that receipt can only be printed after payment has been confirmed.
